FREE: 10 Must-Know Tomato Growing Tips Get The Guide
Read our affiliate disclosure here.
How to Winterize Your Garden: More Than Just Fall Clean Up
Since 2010, Tomato Dirt has garnered 4.8+ million views, making it the web’s leading online source for growing tomatoes in the home garden. Award-winning writer and Tomato Dirt owner Kathy Widenhouse has helped thousands of home gardeners grow healthier tomatoes. Be one of them when you get Tomato Dirt’s Growing Guide here.
Updated 12.1.25
When you know how to winterize your garden, you do much more than clean up a late season eyesore.
You invest in next year’s crop.
Think of winterizing as taking the first steps in getting started with vegetable gardening in the spring. And you needn’t take your winterizing steps all at once. Undertake them one at a time over the weeks after you harvest your crop. You can even extend these tasks into the early winter months.
Do that and time will fly between seasons. In just a couple weeks after you’ve shut down the garden for winter, you’ll be planning your new spring garden layout, buying seeds, and tilling the rows for planting.
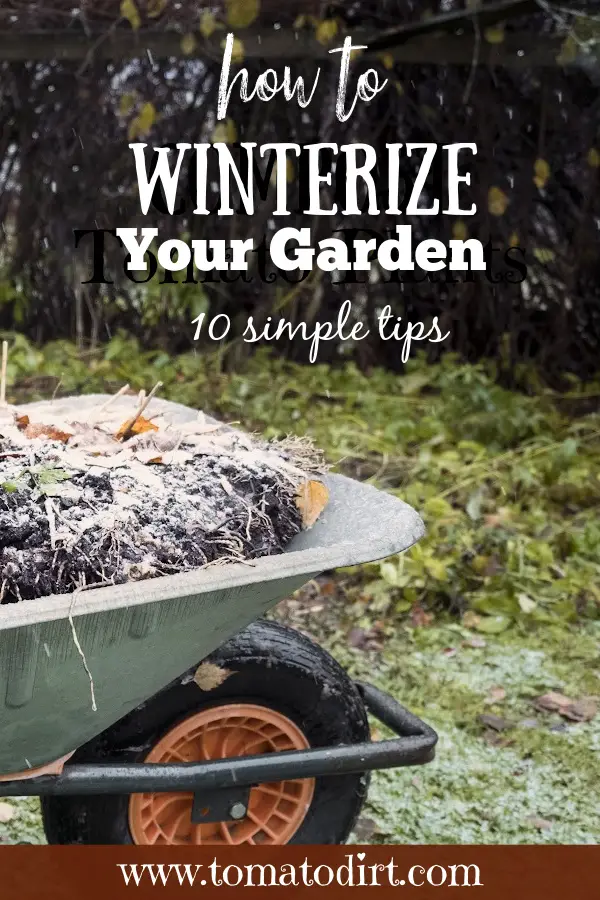
How to winterize your garden: use these 10 simple tips
1. Clean up the garden
- If you’ve not done so already, tidy up your vegetable patch. Remove and discard diseased and mummified plant material to prevent the spread of diseases.
- Pull out annual plants (like tomatoes) that have finished producing.
- Compost healthy plant debris or dispose of it away from the garden.
2. Remove supports
Tomato cages, stakes, trellises. Bean poles. Ties. It’s tempting to leave them in the garden, especially when it means the tedious task of pulling out twining vines and leaves. Take care of them now. You’ll be glad you did because …
- They can blow over during wind and storms and can even become a safety hazard.
- They’re a hotbed for fungi and bacteria that will winter over and affect next year’s plants.
- Their exposure to the elements accelerates wear and tear. Pull, clean, and store your garden supports so they last longer.
To do so, pull out supports and scrape off excess soil. Cut away and discard garden ties. Then, give cages and stakes a quick scrub with soapy water. Top off with a quick spray using 10% bleach solution to destroy any of the remaining pathogens that are clinging for dear life. Then, when supports are dry, store them in a clean space for winter.
3. Take a soil test
Conduct a soil test to determine your garden’s nutrient content and pH at season’s end. This gives you a baseline for next year. Be sure to take your soil test before you add soil amendments for overwintering (see #4, 5, 6, and 7). In the spring, you’ll complete another one. And the difference between the two scores helps you find out which winter soil amendments rejuvenate your plot.
4. Burn debris
Pile discarded leaves, straw, grass clippings, and other yard debris in your vegetable garden. Then burn them. Burning adds wood ash to your garden. Trace minerals are in the ash, thereby replacing those nutrients in the garden. Burning also destroys weed seeds, fungi, bacteria, and other microorganisms that overwinter in the soil.
Special tips
- Be sure to obtain necessary local permits for burning.
- Have a working garden hose ready to contain the flames.
- Once wood ash cools, rake it evenly so ash is distributed across your plot.
5. Turn the soil
When spring tiptoes onto the calendar, gardeners everywhere pull out their tillers and spades to turn the soil.
But do it now, too. You’ll improve your chances for a productive crop next year when you add a layer of rotted manure, leaves, or compost now – and then turn the soil, stirring up air pockets so aerobic microbes can have room to breathe. Think of all that organic goodness settling into your vegetable bed before the ground freezes, giving microorganisms a few extra months to work their magic. Use a spade or rototiller to work materials into the soil, mixing well to a depth of 8 to 12 inches.
6. Mulch
A 3–4-inch layer or straw, leaves, wood chips, or mulch on your planting areas and paths in between rows won’t necessarily keep the soil warm, but it helps the garden maintain an even temperature.
Plus, when you mulch now at year end, your garden benefits in a big way early next season, particularly if you have a wet spring. Pre-mulched planting areas are protected from becoming a muddy, clumped mess. Then, when you till the garden to plant, the mulch will already be decomposing or composted, adding yet another dose of organic yumminess to your plot.
Note: avoid using fresh, decomposed mulch when you winterize your garden. It can rob your soil of nitrogen as it breaks down. Come spring, your seedlings need all the nitrogen they can get in order to put out leaves and stems at a fast pace.
7. Plant a cover crop
They’re called “green manure” with good reason. Cover crops like vetch, clover, annual ryegrass, oats, rapeseed, winter wheat, and winter rye prevent soil erosion, suppress weeds, and add organic matter when you till them into the soil in the spring. Tip: sow thickly so winter weeds don’t encroach.
How do these crops improve your soil? You’d think that a cover crop would drain the garden of nutrients when it should be resting in the off season. But winter cover crops are special legumes that work in partnership with soil-dwelling bacteria.
Bacteria find a home in a winter crop’s roots. And since they are nitrogen gobblers, the microbes pull nitrogen from air pockets and convert it to a form that the winter legume cover crops can use. Once the cover crop dies in the spring, its roots decompose and release excess nitrogen into the soil.
That acts like manna to your new seedlings. Nitrogen is a key nutrient in developing foliage – meaning that tomato plants need it early on in the season to put out stalks and branches and leaves. Soil that’s been nurtured by a winter crop provides nitrogen to your new tomato seedlings in abundance.
As an alternative to planting a cover crop, you can improve your plot during the winter when you solarize the soil. Once you’ve tilled and added mulch, spread a black plastic covering across the bed and secure edges so it won’t blow away. Black plastic absorbs heat and works to decompose organic matter buried beneath. Temperatures can rise high enough to destroy bacteria, fungi, and other pathogens that overwinter in the soil. Solarizing doesn’t add nitrogen to your plot. But it can cleanse the soil from microscopic enemies.
8. Protect perennials
Got asparagus, rhubarb, sage, or other perennial herbs in your beds? Cut back the dead foliage and mulch plant crowns to prevent damage from frost, ice, and snow.
9. Store gardening tools and equipment
- Assemble your wheelbarrow, spades, trowels, and garden pruners.
- Rinse off the excess soil with a garden hose.
- Scrub surfaces with disinfectant and a 10% bleach solution.
- Allow the tools to dry.
- Oil metal tools to prevent rust.
- Store tools for winter. Follow manufacturer’s instructions for winterizing power tools.
- By cleaning tools now, you stop germs in their tracks. And you don’t bring them indoors to your garage or shed to overwinter.
10. Plan for spring
What worked well this year? Take time to jot down notes about this season. You’ll put this important information to use next spring.
- Draw a sketch of this year’s garden so you can remember where you planted different crops. Make a plan to rotate them next season. This is an especially helpful step to take if your tomato plants showed any signs of early blight, late blight, Septoria leaf spot, or tomato wilt. Those pathogens overwinter in the soil. By moving plants to a different area of the garden next year, you give them a fighting chance of resisting infection.
- What crops or varieties produced a bumper crop and which ones were a bust? Record tomato varieties along with the different cultivars you planted for other vegetables. Make notes of those you’d like to replant next year and what varieties you’d like to try.
- Record your watering and fertilizing patterns. Did plants appear to need more or less water … more or less extra nutrients?
- Take steps to improve your garden soil over winter.
How to winterize your garden and save work
Spring is coming faster than you think. Give yourself a running start when you take a little bit of time to winterize your garden using these tips.
Prepping now helps give you a tidy patch during the off season. It improves the soil and helps ensure that your vegetable garden remains healthy and ready for a productive growing season.
And winterizing your garden now has an added benefit now. It allows you to spend more time in your garden, continuing to feed your soul as you dig in the dirt.
But the biggest payoff comes in the spring. By investing in your plot at season’s end, you reduce the amount of manual labor needed when it's time to start planting again. Instead of cleaning up a mess, you’ll be that much closer to planting seeds and seedlings for a fresh new growing season.
More tips for how to winterize your garden
Free Download: Fall Cleaning Check List for Your Vegetable Garden ...
The Best Time of Year To Clear a Garden ...
What To Do After Harvesting Tomatoes ...
How to Get Started with Tomato Garden Fall Clean Up ...
How To Protect Outdoor Pots in Winter ...
How To Improve Your Garden Soil Over Winter ...
When to Remove Tomato Plants in the Fall ...
3 Mistakes to Avoid When You Prepare Garden for Winter ...
How to Take End of Season Notes about Your Tomato Garden ...
Get more tips on our Garden Clean Up Pinterest board...
Return from How to Winterize Your Garden to Tomato Dirt home
As an Amazon Associate and Rakuten Advertising affiliate I earn from qualifying purchases.
SHARE THIS PAGE:
FREE! 10 Must-Know Tomato Growing Tips: 20-page guide
Get yours here:


